
“Chocolate Drip Cake”
We all wonder if it’s possible to easily make that beautiful Bakery-Style Chocolate Drip Cake at home…”
Best Chocolate Cake for Beginners
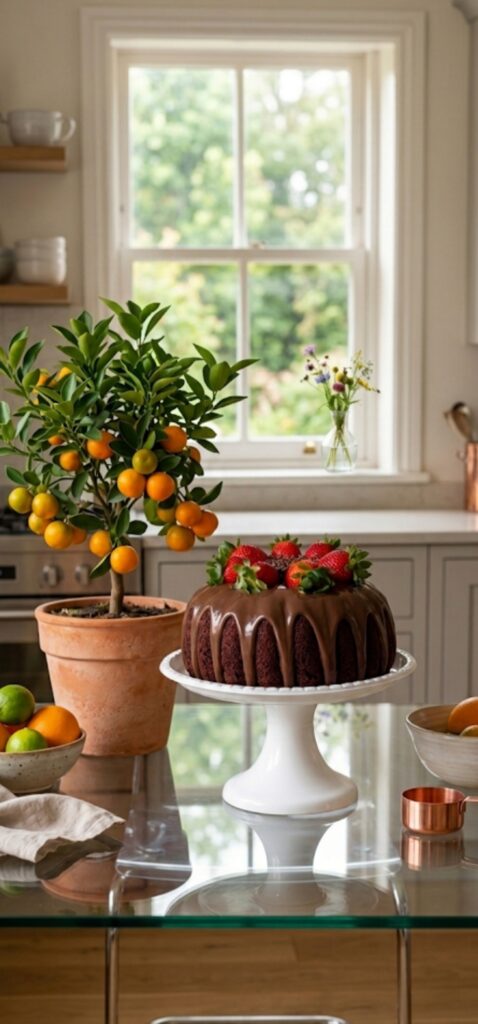
Indulgent Chocolate Strawberry Ganache Cake: The Ultimate Recipe
Best Homemade Chocolate Cake Recipe
There is no combination in the world of desserts as classic and romantic as Chocolate and Strawberries. Whether it is a birthday, an anniversary, or a simple weekend craving, a rich chocolate cake topped with luscious strawberries is always a showstopper.
In this post, I will guide you through creating the perfect Chocolate Strawberry Bundt Cake—just like the one in the picture. It features a moist, velvety base, a silky dark chocolate drip, and the freshness of seasonal berries.
Chocolate Https://my-dessertkitchen.com/easy-strawberry-layered-tiramisu-eggless/ Ganache Drip Tutorial
“Chocolate Drip Cake”
Ingredients You Will Need
To get that professional bakery-style finish, ensure your ingredients are at room temperature.
This chocolate drip cake is perfect for birthdays.”
For the Chocolate Cake:
- All-purpose Flour (Maida): 2 cups
- Granulated Sugar: 1.5 cups
- Unsweetened Cocoa Powder: 3/4 cup (High quality for a deep flavor)
- Baking Powder: 1.5 tsp
- Baking Soda: 1.5 tsp
- Salt: a pinch
- Eggs: 2 large (or 1 cup of thick yogurt for an eggless version)
- Whole Milk: 1 cup
- Vegetable Oil: 1/2 cup (or melted butter)
- Vanilla Extract: 2 tsp
- Hot Coffee or Boiling Water: 1 cup (The secret to “blooming” the cocoa for extra richness)
For the Chocolate Ganache & Topping:
- Semi-sweet or Dark Chocolate: 200g (chopped)
- Heavy Cream: 100ml
- Fresh Strawberries: 8-10 large berries
- Chocolate Chips/Sprinkles: For the garnish
Step-by-Step Instructions
This chocolate drip cake is perfect for birthdays.”
Bakery Style Chocolate Https://my-dessertkitchen.com/no-bake-coffee-cheesecake/ Drip Cake
1. Preparation
Preheat your oven to 180°C (350°F). Grease your Bundt pan or cake tin generously with butter and dust it with a little cocoa powder. This ensures the cake pops out easily with all those beautiful ridges intact.
2. Mix the Dry Ingredients
In a large mixing bowl, sift together the flour, cocoa powder, baking powder, baking soda, and salt. Whisk in the sugar until everything is well combined and there are no lumps.
3. Combine the Wet Ingredients
In another bowl, whisk the eggs (or yogurt), milk, oil, and vanilla extract. Slowly pour the wet mixture into the dry ingredients while whisking continuously. Once combined, pour in the hot coffee or water. The batter will be thin, but that’s exactly what makes the cake incredibly moist.
4. The Baking Process
Pour the batter into the prepared pan. Bake for 30 to 35 minutes. Insert a toothpick into the center; if it comes out clean, your cake is done. Let it cool in the pan for 10 minutes before transferring it to a wire rack to cool completely.
This chocolate drip cake is perfect for birthdays.”
5. Making the Glossy Ganache
While the cake cools, prepare the chocolate drip. Place the chopped chocolate in a heat-proof bowl. Heat the heavy cream in a small saucepan until it just begins to simmer (do not boil). Pour the hot cream over the chocolate and let it sit for 5 minutes. Stir gently until it becomes smooth, shiny, and pourable.
Easy Moist Chocolate Cake with Drip
Assembly and Decoration
This is where the magic happens!
- The Drip: Place your cooled cake on a serving stand. Slowly pour the ganache over the top, allowing it to naturally drip down the sides.
- The Berries: Wash and pat dry your strawberries. Place them around the top rim of the cake. Keeping the green leaves on adds a beautiful, organic pop of color.
- The Center: Fill the center hollow of the cake with chocolate chips or additional strawberry slices to add texture.
Pro-Tips for the Perfect Blog-Worthy Cake
“Chocolate Drip Cake”
- Don’t Rush Cooling: If the cake is even slightly warm, the ganache will run off completely instead of creating those beautiful thick drips.
- The Coffee Secret: You won’t taste the coffee in the final cake! It simply intensifies the chocolate flavor, making it taste more “expensive.”
- Strawberry Shine: If you want your strawberries to look extra shiny for photos, brush them lightly with a bit of melted apricot jam or honey.
Final Thoughts
Chocolate Drip Cake”
This Chocolate Strawberry cake is more than just a dessert; it’s a centerpiece. It’s surprisingly simple to make but looks like it came straight out of a high-end patisserie. Give this recipe a try and share your results with me in the comments
If you loved this Chocolate Drip Cake recipe, please share it with your friends and family! Use the share buttons below to spread the sweetness on WhatsApp or Facebook. Your support means a lot to me! 🎂✨”
Easy Cake Decoration Ideas
ಚಾಕೊಲೇಟ್ ಮತ್ತು ಸ್ಟ್ರಾಬೆರಿಯ ಅದ್ಭುತ ಸಂಗಮ: ಮನೆಯಲ್ಲೇ ತಯಾರಿಸಿ ಸ್ವಾದಿಷ್ಟ ಕೇಕ್!
10 Best Tips for Chocolate Drip Cake: Ultimate & Easy!
ನಾವೆಲ್ಲರೂ ಬೇಕರಿಯಲ್ಲಿ ಕಾಣುವ ಆ ಸುಂದರವಾದ Chocolate Drip Cake ಅನ್ನು ಮನೆಯಲ್ಲೇ ಸುಲಭವಾಗಿ ಮಾಡಲು ಸಾಧ್ಯವೇ ಎಂದು ಯೋಚಿಸುತ್ತೇವೆ…”
ಮನೆಯಲ್ಲೇ ಕೇಕ್ ಮಾಡುವ ವಿಧಾನ (Cake making method at home)
Easy Chocolate Drip Cake”
ಸಿಹಿ ತಿಂಡಿಗಳ ಲೋಕದಲ್ಲಿ ಚಾಕೊಲೇಟ್ ಮತ್ತು ಸ್ಟ್ರಾಬೆರಿಗಳ ಕಾಂಬಿನೇಶನ್ ಸದಾ ಕಾಲ ಪ್ರಸಿದ್ಧ. ಈ ಎರಡರ ಮಧುರ ಸಮ್ಮಿಲನದಿಂದ ತಯಾರಾಗುವ “ಚಾಕೊಲೇಟ್ ಸ್ಟ್ರಾಬೆರಿ ಗನಾಶ್ ಕೇಕ್” ನೋಡುವುದಕ್ಕೆ ಎಷ್ಟು ಸುಂದರವೋ, ತಿನ್ನುವುದಕ್ಕೆ ಅಷ್ಟೇ ರುಚಿಕರ. ವಿಶೇಷ ಸಮಾರಂಭಗಳಿರಲಿ ಅಥವಾ ವಾರಾಂತ್ಯದ ಆಚರಣೆಯಿರಲಿ, ಈ ಕೇಕ್ ಎಲ್ಲರ ಗಮನ ಸೆಳೆಯುವುದು ಖಚಿತ.
ಇಂದಿನ ಬ್ಲಾಗ್ನಲ್ಲಿ, ಫೋಟೋದಲ್ಲಿ ಕಾಣುವಂತೆಯೇ ಆಕರ್ಷಕವಾದ ಮತ್ತು ಬಾಯಿಯಲ್ಲಿ ಇಟ್ಟರೆ ಕರಗಿ ಹೋಗುವಂತಹ ಚಾಕೊಲೇಟ್ ಕೇಕ್ ಅನ್ನು ಹಂತ-ಹಂತವಾಗಿ ಹೇಗೆ ತಯಾರಿಸುವುದು ಎಂದು ತಿಳಿಯೋಣ.
Strawberry Chocolate Layer Cake”
ಮೊಟ್ಟೆಯಿಲ್ಲದ ಚಾಕೊಲೇಟ್ ಕೇಕ್ (Eggless chocolate cake – ಒಂದು ವೇಳೆ ಮೊಟ್ಟೆ ಬಳಸದಿದ್ದರೆ)
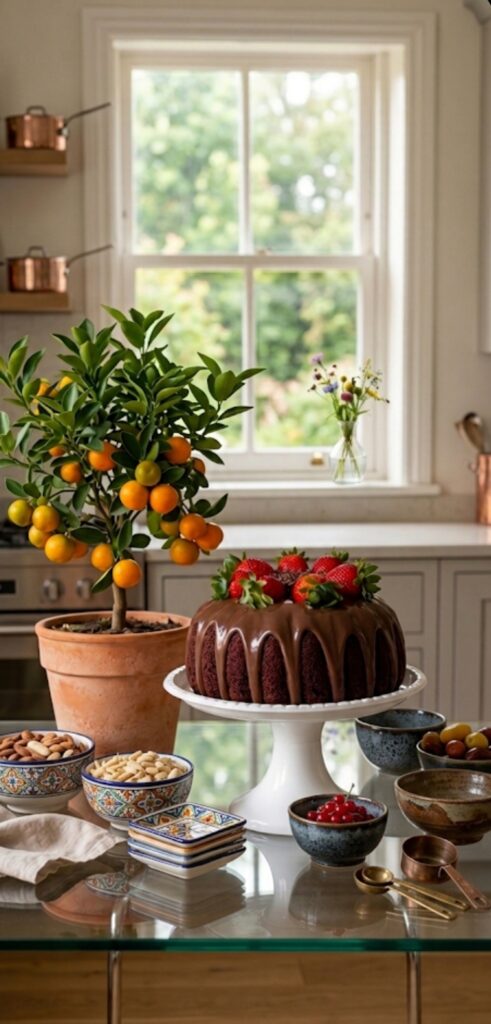
ಬೇಕಾಗುವ ಸಾಮಗ್ರಿಗಳು (Ingredients)
ಯಾವುದೇ ಉತ್ತಮ ಕೇಕ್ ತಯಾರಿಕೆಗೆ ಗುಣಮಟ್ಟದ ಸಾಮಗ್ರಿಗಳು ಬಹಳ ಮುಖ್ಯ. ಈ ಕೇಕ್ ಅನ್ನು ಎರಡು ಭಾಗಗಳಲ್ಲಿ ಸಿದ್ಧಪಡಿಸಬೇಕಾಗುತ್ತದೆ: ಒಂದು ಕೇಕ್ ಬೇಸ್ ಮತ್ತು ಇನ್ನೊಂದು ಮೇಲಿನ ಚಾಕೊಲೇಟ್ ಗನಾಶ್.
ರುಚಿಕರವಾದ ಚಾಕೊಲೇಟ್ http://[https://my-dessertkitchen.com/ My Dessert Kitchen – ಡೆಸರ್ಟ್ ರೆಸಿಪಿಗಳು] ಕೇಕ್ ರೆಸಿಪಿ (Delicious chocolate cake recipe)
ಕೇಕ್ ತಯಾರಿಸಲು:
- ಮೈದಾ ಹಿಟ್ಟು: 2 ಕಪ್
- ಸಕ್ಕರೆ ಪುಡಿ: 1.5 ಕಪ್
- ಕೋಕೋ ಪೌಡರ್ (Unsweetened): 3/4 ಕಪ್
- ಬೇಕಿಂಗ್ ಪೌಡರ್: 1.5 ಟೀ ಚಮಚ
- ಬೇಕಿಂಗ್ ಸೋಡಾ: 1.5 ಟೀ ಚಮಚ
- ಉಪ್ಪು: ಒಂದು ಚಿಟಿಕೆ
- ಮೊಟ್ಟೆಗಳು: 2 (ಸಸ್ಯಾಹಾರಿಗಳಾಗಿದ್ದರೆ 1 ಕಪ್ ಮೊಸರು ಬಳಸಬಹುದು)
- ಹಾಲು: 1 ಕಪ್
- ಅಡುಗೆ ಎಣ್ಣೆ ಅಥವಾ ಬೆಣ್ಣೆ: 1/2 ಕಪ್
- ವೆನಿಲ್ಲಾ ಎಸೆನ್ಸ್: 2 ಟೀ ಚಮಚ
- ಬಿಸಿ ನೀರು ಅಥವಾ ಕಾಫಿ ಡಿಕಾಕ್ಷನ್: 1 ಕಪ್ (ಇದು ಚಾಕೊಲೇಟ್ ರುಚಿಯನ್ನು ಹೆಚ್ಚಿಸುತ್ತದೆ)
ಚಾಕೊಲೇಟ್ ಗನಾಶ್ ಮತ್ತು ಅಲಂಕಾರಕ್ಕೆ:
“Chocolate Drip Cake”
- ಡಾರ್ಕ್ ಚಾಕೊಲೇಟ್ ಅಥವಾ ಮಿಲ್ಕ್ ಚಾಕೊಲೇಟ್: 200 ಗ್ರಾಂ
- ಫ್ರೆಶ್ ಕ್ರೀಮ್: 100 ಮಿ.ಲೀ
- ತಾಜಾ ಸ್ಟ್ರಾಬೆರಿಗಳು: 8-10
- ಚಾಕೊಲೇಟ್ ಚಿಪ್ಸ್ ಅಥವಾ ಸ್ಪ್ರಿಂಕಲ್ಸ್: ಅಗತ್ಯವಿದ್ದಷ್ಟು
ತಯಾರಿಸುವ ವಿಧಾನ (Step-by-Step Process)
ಬೇಕರಿ ಶೈಲಿಯ ಚಾಕೊಲೇಟ್ http://Wikipedia Chocolate ಕೇಕ್ (Bakery style chocolate cake)
ಹಂತ 1: ಪೂರ್ವ ಸಿದ್ಧತೆ
ಮೊದಲಿಗೆ ನಿಮ್ಮ ಓವನ್ ಅನ್ನು 180°C ಗೆ ಪ್ರಿ-ಹೀಟ್ ಮಾಡಿ. ಕೇಕ್ ಟಿನ್ ಅಥವಾ ಬಂಡ್ ಪ್ಯಾನ್ (Bundt Pan) ಗೆ ಸ್ವಲ್ಪ ಬೆಣ್ಣೆ ಸವರಿ, ಅದರ ಮೇಲೆ ಮೈದಾ ಹಿಟ್ಟು ಉದುರಿಸಿ ಸಿದ್ಧಪಡಿಸಿಟ್ಟುಕೊಳ್ಳಿ. ಇದರಿಂದ ಕೇಕ್ ಅಂಟಿಕೊಳ್ಳದೆ ಸುಲಭವಾಗಿ ಹೊರಬರುತ್ತದೆ.
ಹಂತ 2: ಒಣ ಸಾಮಗ್ರಿಗಳ ಮಿಶ್ರಣ
ಒಂದು ದೊಡ್ಡ ಪಾತ್ರೆಯಲ್ಲಿ ಮೈದಾ, ಕೋಕೋ ಪೌಡರ್, ಬೇಕಿಂಗ್ ಪೌಡರ್, ಬೇಕಿಂಗ್ ಸೋಡಾ ಮತ್ತು ಉಪ್ಪನ್ನು ಜರಡಿ ಹಿಡಿಯಿರಿ. ಹೀಗೆ ಮಾಡುವುದರಿಂದ ಹಿಟ್ಟಿನಲ್ಲಿ ಗಂಟುಗಳಿರುವುದಿಲ್ಲ ಮತ್ತು ಕೇಕ್ ಮೃದುವಾಗಿ ಬರುತ್ತದೆ. ಇದಕ್ಕೆ ಸಕ್ಕರೆ ಪುಡಿಯನ್ನು ಸೇರಿಸಿ ಚೆನ್ನಾಗಿ ಬೆರೆಸಿ.
Strawberry Chocolate Layer Cake”
ಹಂತ 3: ದ್ರವ ಸಾಮಗ್ರಿಗಳ ಸೇರ್ಪಡೆ
ಮತ್ತೊಂದು ಪಾತ್ರೆಯಲ್ಲಿ ಮೊಟ್ಟೆ (ಅಥವಾ ಮೊಸರು), ಹಾಲು, ಎಣ್ಣೆ ಮತ್ತು ವೆನಿಲ್ಲಾ ಎಸೆನ್ಸ್ ಸೇರಿಸಿ ಚೆನ್ನಾಗಿ ವಿಸ್ಕ್ ಮಾಡಿ. ಈಗ ಈ ದ್ರವ ಮಿಶ್ರಣವನ್ನು ಒಣ ಸಾಮಗ್ರಿಗಳ ಪಾತ್ರೆಗೆ ನಿಧಾನವಾಗಿ ಸುರಿಯುತ್ತಾ ಕಲಕುತ್ತಿರಿ. ಕೊನೆಯಲ್ಲಿ ಬಿಸಿ ನೀರು ಅಥವಾ ಕಾಫಿ ಡಿಕಾಕ್ಷನ್ ಸೇರಿಸಿ. ಮಿಶ್ರಣವು ಸ್ವಲ್ಪ ತೆಳುವಾಗಿ ಕಂಡರೂ ಚಿಂತಿಸಬೇಡಿ, ಇದು ಕೇಕ್ ಅನ್ನು ಹೆಚ್ಚು ಮಾಯಿಸ್ಟ್ (moist) ಆಗಿರಿಸುತ್ತದೆ.
ಹಂತ 4: ಬೇಕಿಂಗ್ (Baking)
ಸಿದ್ಧಪಡಿಸಿದ ಮಿಶ್ರಣವನ್ನು ಕೇಕ್ ಟಿನ್ಗೆ ಸುರಿಯಿರಿ. ಓವನ್ನಲ್ಲಿ 30 ರಿಂದ 35 ನಿಮಿಷಗಳ ಕಾಲ ಬೇಕ್ ಮಾಡಿ. ಕೇಕ್ ಬೆಂದಿದೆಯೇ ಎಂದು ಪರೀಕ್ಷಿಸಲು ಒಂದು ಟೂತ್ಪಿಕ್ ಅನ್ನು ಕೇಕ್ ಮಧ್ಯಕ್ಕೆ ಚುಚ್ಚಿ ನೋಡಿ; ಅದು ಸ್ವಚ್ಛವಾಗಿ ಹೊರಬಂದರೆ ಕೇಕ್ ಸಿದ್ಧವಾಗಿದೆ ಎಂದರ್ಥ. ಕೇಕ್ ಅನ್ನು ಓವನ್ನಿಂದ ಹೊರತೆಗೆದು ಪೂರ್ತಿಯಾಗಿ ತಣ್ಣಗಾಗಲು ಬಿಡಿ.
ಚಾಕೊಲೇಟ್ ಗನಾಶ್ ತಯಾರಿಕೆ (The Perfect Drip)
ಕೇಕ್ ತಣ್ಣಗಾದ ಮೇಲೆ ಅದರ ಮೇಲೆ ಸುರಿಯುವ ‘ಗನಾಶ್’ ಈ ಕೇಕ್ನ ಹೈಲೈಟ್.
- ಚಾಕೊಲೇಟ್ ಅನ್ನು ಸಣ್ಣ ತುಂಡುಗಳಾಗಿ ಕತ್ತರಿಸಿ ಒಂದು ಬೌಲ್ನಲ್ಲಿ ಹಾಕಿ.
- ಫ್ರೆಶ್ ಕ್ರೀಮ್ ಅನ್ನು ಒಂದು ಪಾತ್ರೆಯಲ್ಲಿ ಬಿಸಿ ಮಾಡಿ (ಕುದಿಸಬೇಡಿ, ಕೇವಲ ಬಬಲ್ಸ್ ಬರುವವರೆಗೆ ಬಿಸಿ ಮಾಡಿ).
- ಬಿಸಿ ಕ್ರೀಮ್ ಅನ್ನು ಚಾಕೊಲೇಟ್ ತುಂಡುಗಳ ಮೇಲೆ ಸುರಿಯಿರಿ ಮತ್ತು 5 ನಿಮಿಷ ಬಿಡಿ.
- ನಂತರ ನಿಧಾನವಾಗಿ ಕಲಕಿದರೆ ಹೊಳೆಯುವ, ದಪ್ಪನೆಯ ಚಾಕೊಲೇಟ್ ಗನಾಶ್ ಸಿದ್ಧವಾಗುತ್ತದೆ.
ಅಲಂಕಾರದ ಕಲೆ (Decoration)
ಈಗ ಅತ್ಯಂತ ಆಸಕ್ತಿದಾಯಕ ಘಟ್ಟ! ಕೇಕ್ ಸಂಪೂರ್ಣವಾಗಿ ತಣ್ಣಗಾದ ನಂತರ ಅದನ್ನು ಒಂದು ಸರ್ವಿಂಗ್ ಸ್ಟ್ಯಾಂಡ್ ಮೇಲೆ ಇರಿಸಿ.
- ತಯಾರಿಸಿದ ಚಾಕೊಲೇಟ್ ಗನಾಶ್ ಅನ್ನು ಕೇಕ್ನ ಮಧ್ಯಭಾಗದಿಂದ ಸುತ್ತಲೂ ನಿಧಾನವಾಗಿ ಸುರಿಯಿರಿ. ಅದು ಬದಿಗಳಲ್ಲಿ ಸುಂದರವಾಗಿ ಹರಿಯುವಂತೆ (Drip effect) ನೋಡಿಕೊಳ್ಳಿ.
- ಕೇಕ್ನ ಮೇಲ್ಭಾಗದಲ್ಲಿ ತಾಜಾ, ತೊಳೆದ ಸ್ಟ್ರಾಬೆರಿಗಳನ್ನು ಜೋಡಿಸಿ. ಸ್ಟ್ರಾಬೆರಿಗಳ ಕೆಂಪು ಬಣ್ಣವು ಚಾಕೊಲೇಟ್ನ ಗಾಢ ಬಣ್ಣಕ್ಕೆ ಅದ್ಭುತ ಕಾಂಟ್ರಾಸ್ಟ್ ನೀಡುತ್ತದೆ.
- ಮಧ್ಯಭಾಗದಲ್ಲಿ ಸ್ವಲ್ಪ ಚಾಕೊಲೇಟ್ ಚಿಪ್ಸ್ ಅಥವಾ ತುರಿದ ಚಾಕೊಲೇಟ್ ಉದುರಿಸಿ ಅಲಂಕಾರ ಪೂರ್ಣಗೊಳಿಸಿ.
ಕೆಲವು ಉಪಯುಕ್ತ ಸಲಹೆಗಳು (Pro-Tips)
- ಕೇಕ್ ತಣ್ಣಗಿರಲಿ: ಕೇಕ್ ಬಿಸಿಯಾಗಿರುವಾಗ ಎಂದಿಗೂ ಗನಾಶ್ ಸುರಿಯಬೇಡಿ, ಅದು ಪೂರ್ತಿ ಕರಗಿ ಕೇಕ್ ಹಾಳಾಗಬಹುದು.
- ಸ್ಟ್ರಾಬೆರಿ ಆಯ್ಕೆ: ಆದಷ್ಟು ತಾಜಾ ಮತ್ತು ಗಾಢ ಕೆಂಪು ಬಣ್ಣದ ಸ್ಟ್ರಾಬೆರಿಗಳನ್ನೇ ಬಳಸಿ. ಅವುಗಳ ಮೇಲಿರುವ ಹಸಿರು ಎಲೆಗಳನ್ನು ಹಾಗೆಯೇ ಬಿಟ್ಟರೆ ಫೋಟೋದಲ್ಲಿ ಕೇಕ್ ಹೆಚ್ಚು ನ್ಯಾಚುರಲ್ ಆಗಿ ಕಾಣುತ್ತದೆ.
- ಸಂಗ್ರಹಣೆ: ಈ ಕೇಕ್ ಅನ್ನು ಫ್ರಿಡ್ಜ್ನಲ್ಲಿಟ್ಟರೆ 3-4 ದಿನಗಳ ಕಾಲ ತಾಜಾವಾಗಿರುತ್ತದೆ. ಆದರೆ ತಿನ್ನುವ 15 ನಿಮಿಷ ಮೊದಲು ಹೊರಗೆ ತೆಗೆದಿಟ್ಟರೆ ಅದರ ಮೃದುತ್ವ ಮರಳಿ ಬರುತ್ತದೆ.
ಸಮಾರೋಪ:
ನೋಡುವುದಕ್ಕೆ ಐಷಾರಾಮಿ ಬೇಕರಿಯ ಕೇಕ್ನಂತೆ ಕಾಣುವ ಈ ಚಾಕೊಲೇಟ್ ಸ್ಟ್ರಾಬೆರಿ ಕೇಕ್ ಅನ್ನು ನೀವು ಮನೆಯಲ್ಲಿ ಖಂಡಿತ ಪ್ರಯತ್ನಿಸಿ. ನಿಮ್ಮ ಅನುಭವವನ್ನು ಕಾಮೆಂಟ್ ಬಾಕ್ಸ್ನಲ್ಲಿ ಹಂಚಿಕೊಳ್ಳಲು ಮರೆಯಬೇಡಿ
ಇದನ್ನು Https://my-dessertkitchen.com/raspberry-chocolate-tart-recipe/ಓದಿ
Happy Baking!
ನಿಮಗೆ ಈ Bakery-Style Chocolate Drip Cake ರೆಸಿಪಿ ಇಷ್ಟವಾಗಿದ್ದರೆ, ಇದನ್ನು ನಿಮ್ಮ ಫ್ರೆಂಡ್ಸ್ ಮತ್ತು ಫ್ಯಾಮಿಲಿ ಜೊತೆ ಶೇರ್ ಮಾಡಲು ಮರೆಯಬೇಡಿ! ಕೆಳಗಿರುವ ಶೇರ್ ಬಟನ್ ಬಳಸಿ ವಾಟ್ಸಾಪ್ ಅಥವಾ ಫೇಸ್ಬುಕ್ನಲ್ಲಿ ಎಲ್ಲರಿಗೂ ಶೇರ್ ಮಾಡಿ. ನಿಮ್ಮ ಸಪೋರ್ಟ್ ನನಗೆ ಮತ್ತಷ್ಟು ಹೊಸ ರೆಸಿಪಿಗಳನ್ನು ಹಂಚಿಕೊಳ್ಳಲು ಸ್ಫೂರ್ತಿ ನೀಡುತ್ತದೆ. 😊🍰”
ನಿಮಗೆ ಈ ಕೇಕ್ ಇಷ್ಟವಾದರೆ, ನನ್ನ ಹಳೆಯ Strawberry Chocolate Layer Cake ರೆಸಿಪಿಯನ್ನು ಒಮ್ಮೆ ನೋಡಿ.”
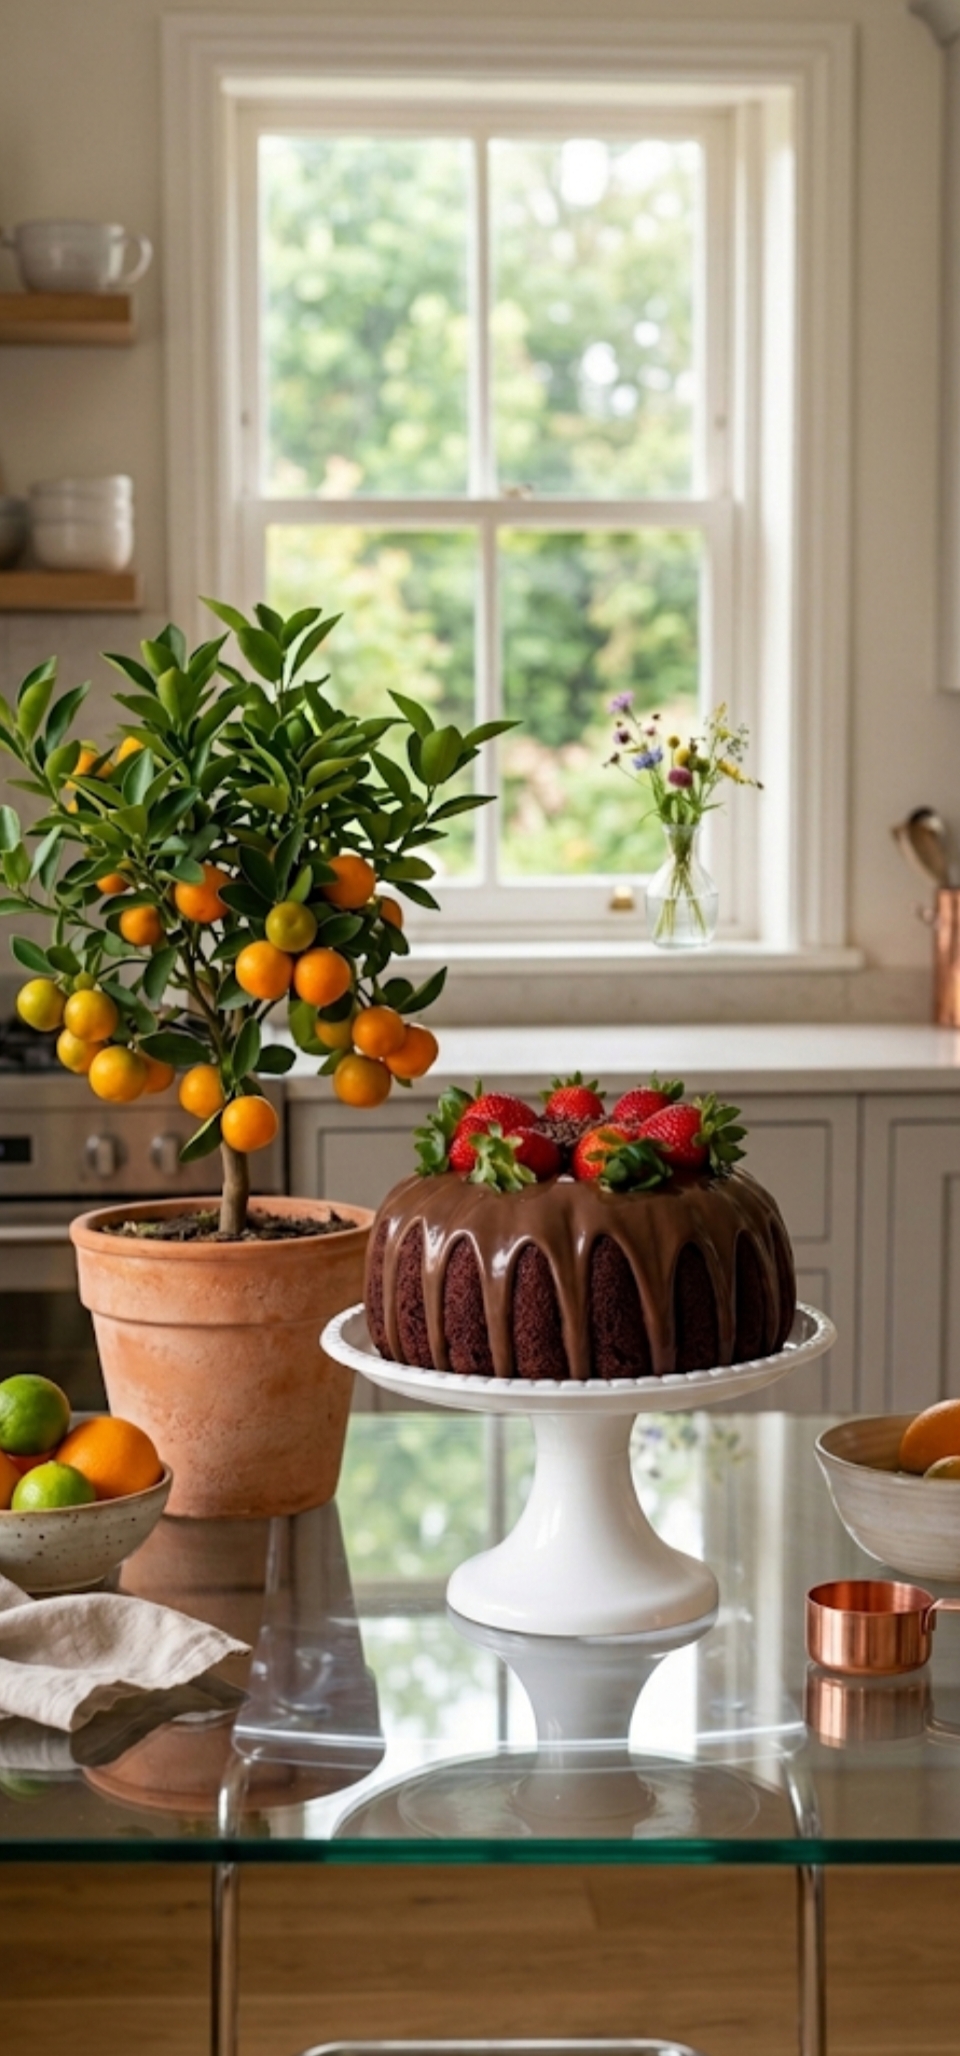
Chocolate Strawberry Ganache Cake”
Method
- ಹಂತ 1: ಓವನ್ ಅನ್ನು 180°C ಗೆ ಪ್ರಿ-ಹೀಟ್ ಮಾಡಿ ಮತ್ತು ಕೇಕ್ ಟಿನ್ಗೆ ಬೆಣ್ಣೆ ಸವರಿ ಸಿದ್ಧಪಡಿಸಿಕೊಳ್ಳಿ.
- ಹಂತ 2: ಒಂದು ಪಾತ್ರೆಯಲ್ಲಿ ಮೈದಾ, ಕೋಕೋ ಪೌಡರ್, ಬೇಕಿಂಗ್ ಪೌಡರ್, ಸೋಡಾ ಮತ್ತು ಸಕ್ಕರೆಯನ್ನು ಜರಡಿ ಹಿಡಿದು ಬೆರೆಸಿ.
- ಹಂತ 3: ಮತ್ತೊಂದು ಪಾತ್ರೆಯಲ್ಲಿ ಮೊಟ್ಟೆ, ಹಾಲು, ಎಣ್ಣೆ ಮತ್ತು ವೆನಿಲ್ಲಾ ಎಸೆನ್ಸ್ ಸೇರಿಸಿ ಮಿಕ್ಸ್ ಮಾಡಿ.
- ಹಂತ 4: ದ್ರವ ಮಿಶ್ರಣವನ್ನು ಒಣ ಹಿಟ್ಟಿನೊಂದಿಗೆ ಬೆರೆಸಿ, ಕೊನೆಯಲ್ಲಿ ಬಿಸಿ ನೀರು ಸೇರಿಸಿ ಮೃದುವಾದ ಬ್ಯಾಟರ್ ತಯಾರಿಸಿ.
- ಹಂತ 5: 30-35 ನಿಮಿಷಗಳ ಕಾಲ ಬೇಕ್ ಮಾಡಿ ಮತ್ತು ಕೇಕ್ ಸಂಪೂರ್ಣವಾಗಿ ತಣ್ಣಗಾಗಲು ಬಿಡಿ.
- ಹಂತ 6: ಬಿಸಿ ಮಾಡಿದ ಕ್ರೀಮ್ ಅನ್ನು ಚಾಕೊಲೇಟ್ ತುಂಡುಗಳ ಮೇಲೆ ಸುರಿದು ಗನಾಶ್ ತಯಾರಿಸಿ.
- ಹಂತ 7: ಕೇಕ್ ಮೇಲೆ ಗನಾಶ್ ಸುರಿದು, ತಾಜಾ ಸ್ಟ್ರಾಬೆರಿಗಳಿಂದ ಅಲಂಕರಿಸಿ.
Pingback: Exquisite Berry and Pistachio Cheesecake Recipe