
Kiwi Panna Cotta
Indulge in creamy richness and fruity freshness with this easy Kiwi Panna Cotta.
This elegant Italian dessert looks as amazing as it tastes!
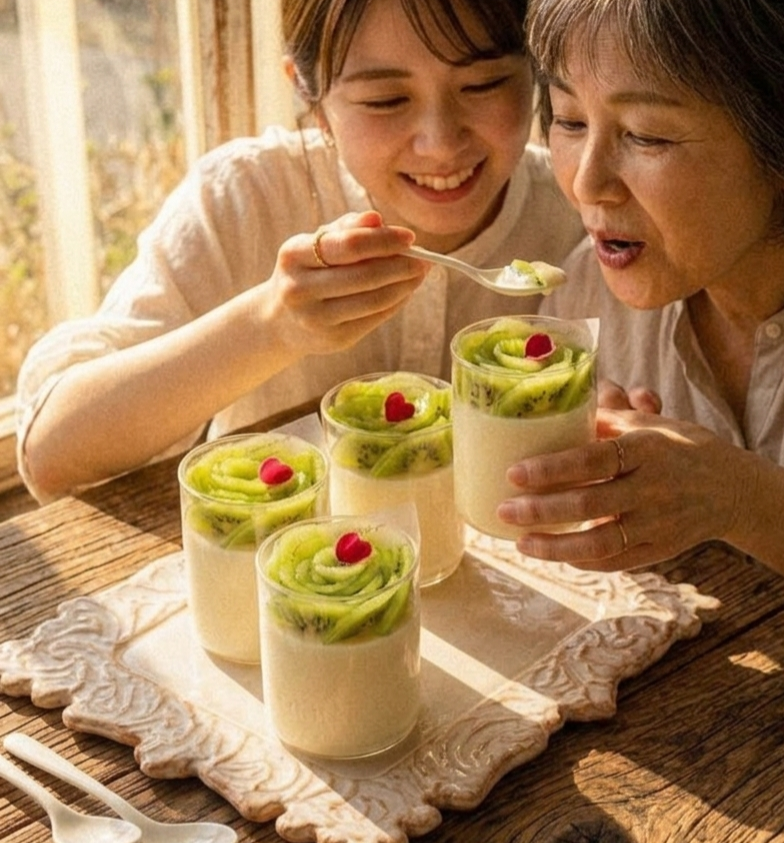
Elegant Kiwi Panna Cotta Recipe
Introduction & Overview
Kiwi Panna https://en.wikipedia.org/wiki/Panna_cotta Cotta
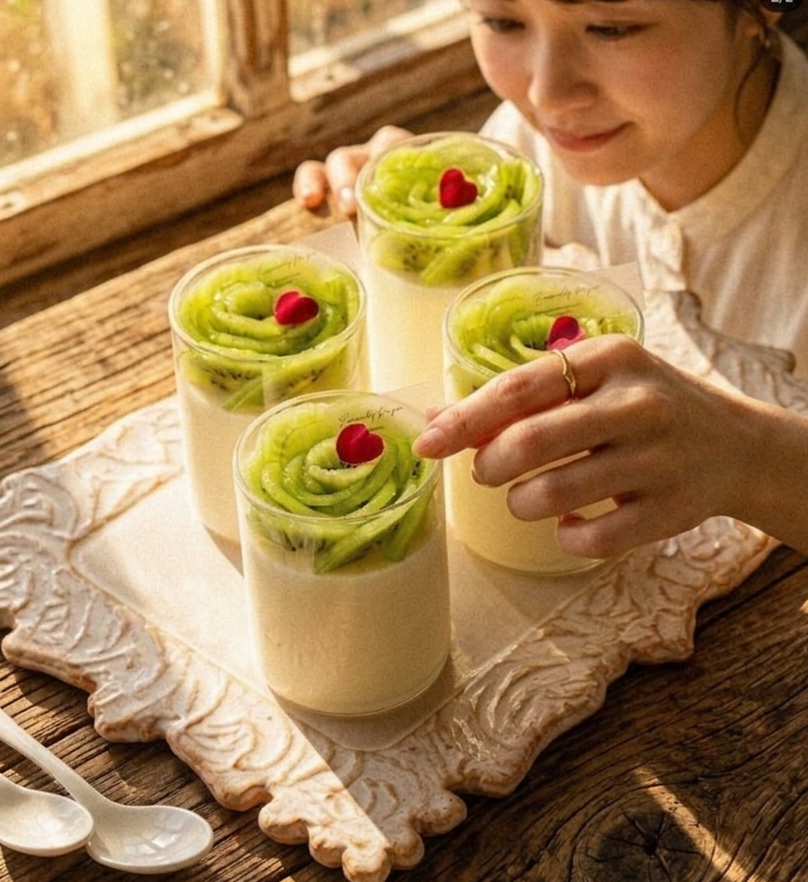
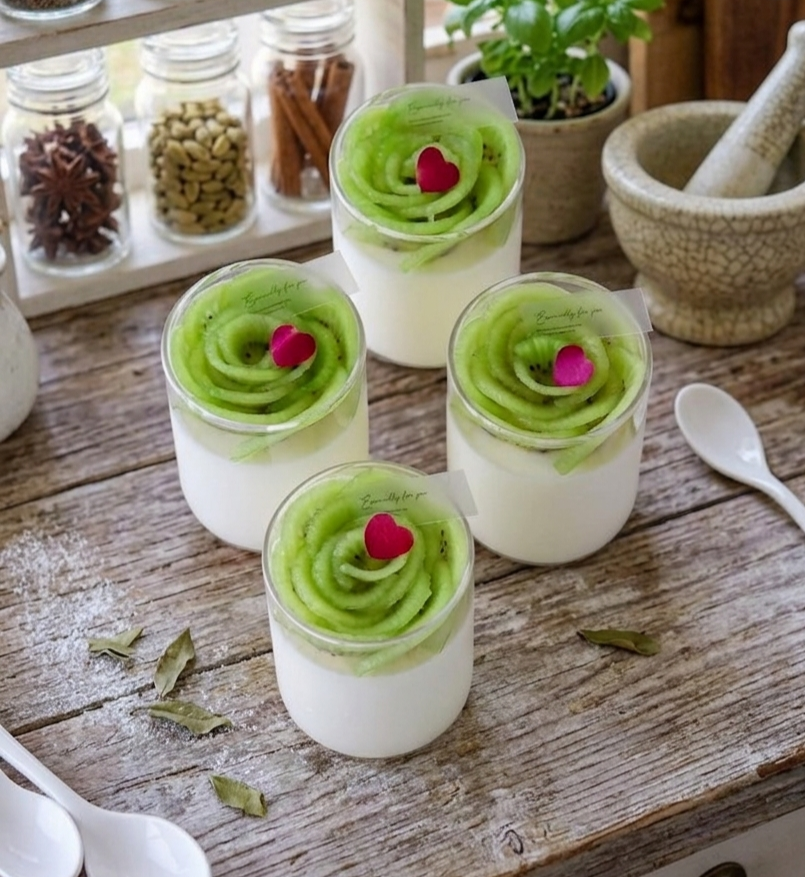
Welcome to a culinary journey that combines the creamy, silky richness of Italian dessert craftsmanship with the vibrant, tart freshness of tropical fruit. The dessert showcased in the image is a breathtaking masterpiece: Kiwi Flower Panna Cotta.
Panna cotta, which literally translates to “cooked cream” in Italian, is a classic chilled dessert originating from the Piedmont region of Italy. Traditionally made by simmering heavy cream, sugar, and vanilla with gelatin, it sets into a delicate, melt-in-your-mouth custard. In this elevated variation, the classic milky-white vanilla base is crowned with thinly sliced kiwi fruit artfully arranged to resemble a blooming green rose, garnished with a charming red heart accent.
Whether you are hosting an intimate dinner party, celebrating a special occasion, or simply treating yourself to a cafe-style dessert at home, this recipe will guide you step-by-step through creating a visually stunning and deeply satisfying sweet treat.
Ingredients
Kiwi Panna Cotta
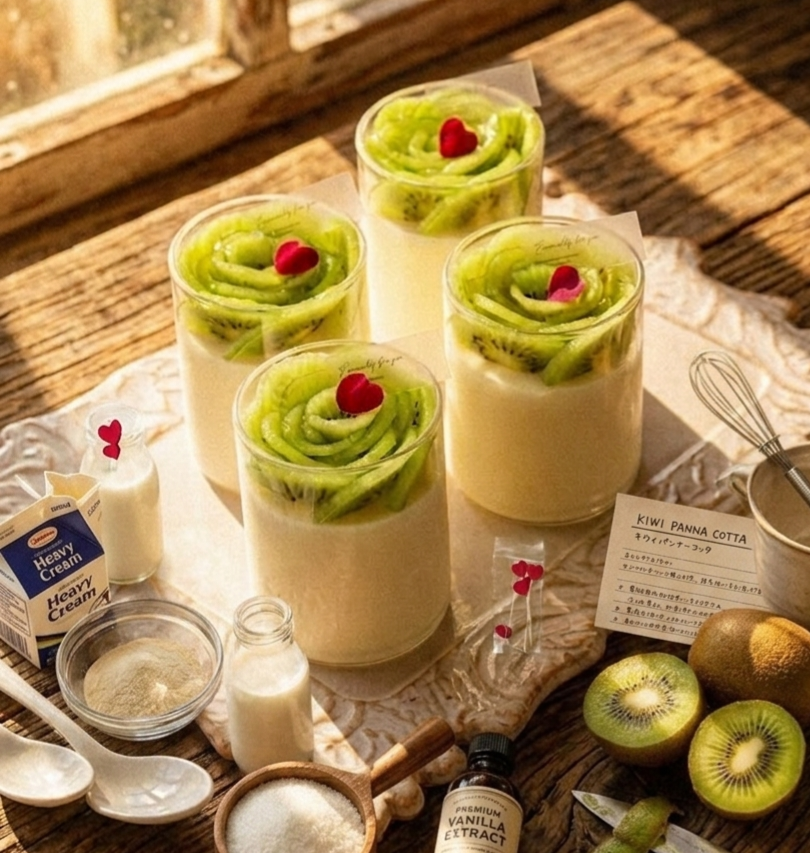
To achieve the perfect balance of creamy texture and fruity tartness, gather the following ingredients.
For the Vanilla Panna Cotta Base:
- Heavy Cream: 1.5 cups (rich and high-fat content for that velvety texture)
- Whole Milk: 0.5 cups (to balance the richness of the heavy cream)
- Granulated Sugar: 1/3 cup (adjust slightly depending on your sweetness preference)
- Unflavored Gelatin Powder: 2 teaspoons
- Cold Water: 2 tablespoons (for blooming the gelatin)
- Pure Vanilla Bean Paste or Extract: 1 teaspoon (vanilla bean paste provides lovely aesthetic speckles)
For the Kiwi Flower Topping:
- Fresh Firm Kiwis: 3 to 4 ripe yet firm kiwifruits (firm kiwis are much easier to slice thinly without breaking)
- Simple Syrup or Kiwi Glaze: 2 tablespoons (optional, to brush over the fruit for extra shine and preservation)
- Edible Red Accents: Small red sugar hearts, edible flower petals, or pomegranate arils for the center garnish
Equipment Needed
Kiwi Panna Cotta
- 4 small clear glass jars or ramekins
- Small mixing bowl
- Saucepan
- Whisk
- Sharp paring knife or mandoline slicer
- Cutting board
Step-by-Step Instructions
Kiwi Pannahttps://my-dessertkitchen.com/how-to-make-chocolate-berry-ice-cream-sundae/ Cotta
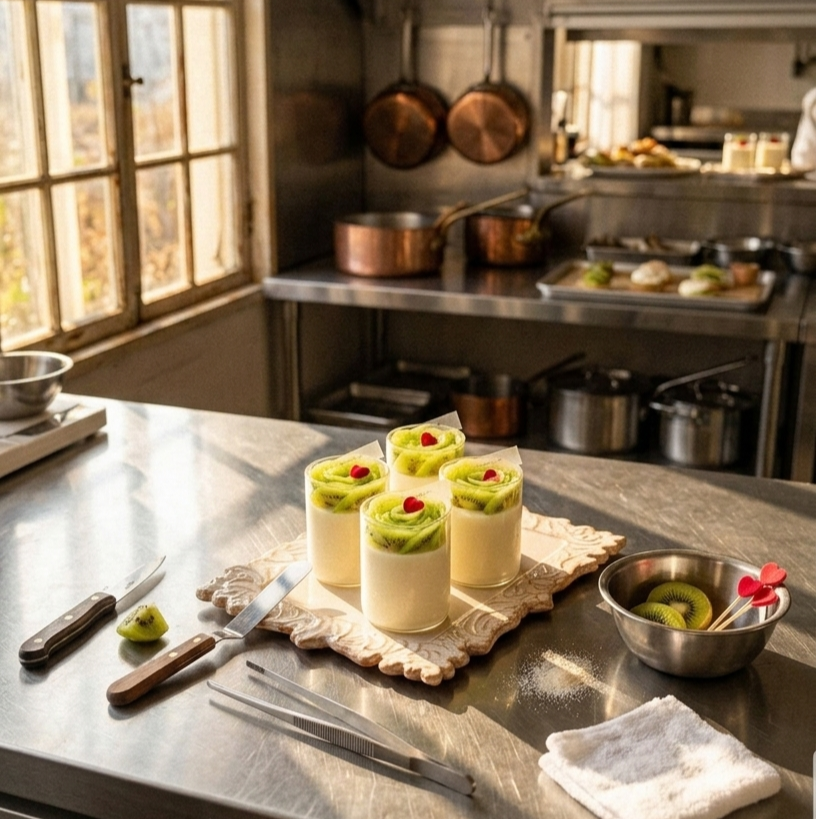
Step 1: Bloom the Gelatin
- Pour the 2 tablespoons of cold water into a small bowl.
- Sprinkle the 2 teaspoons of unflavored gelatin powder evenly over the surface of the water.
- Whisk gently to combine and let it sit undisturbed for about 5 to 7 minutes. This process, known as “blooming,” allows the gelatin granules to absorb the moisture and dissolve smoothly later.
Step 2: Heat the Dairy Mixture
- In a medium saucepan, combine the heavy cream, whole milk, and granulated sugar.
- Place the saucepan over medium-low heat. Stir gently with a spatula or whisk until the sugar is completely dissolved and the mixture is warm, but do not let it boil. Scalding the cream can alter the texture and flavor of the dairy.
- Remove the saucepan from the heat source.
Step 3: Incorporate Vanilla and Gelatin
- Stir in the pure vanilla bean paste or extract, allowing the warmth to release the rich aromatic compounds.
- Take the bloomed gelatin (which should now have a spongy, solid texture) and whisk it directly into the warm cream mixture.
- Continue whisking vigorously for 1 to 2 minutes until the gelatin is completely dissolved and no lumps remain.
Step 4: Pour and Chill
Kiwi Panna Cotta
- Carefully pour the liquid panna cotta mixture evenly among your 4 clear glass jars or ramekins.
- Allow the jars to cool down slightly at room temperature for about 15 minutes.
- Transfer the jars carefully into the refrigerator. Let them chill for at least 4 hours, or preferably overnight, until the custard is completely set and firm to the touch.
Step 5: Craft the Kiwi Roses
Kiwi Panna Cotta
- While the panna cotta is setting, prepare your fresh kiwis. Peel the brown fuzzy skin off the kiwis using a sharp paring knife or a vegetable peeler.
- Slice the kiwis crosswise into extremely thin, uniform rounds. Using a mandoline slicer can help achieve precise, paper-thin slices.
- To form a rose: Lay out several overlapping kiwi slices in a straight line on your cutting board. Carefully roll the line of slices up from one end to the other, creating a spiral cylinder that resembles a blooming rosebud.
- Gently press or place one kiwi flower on top of each chilled panna cotta jar.
Step 6: Final Garnishing and Serving
Kiwi Panna Cotta
- Place a small red edible heart or red petal right in the center of each kiwi flower to serve as the focal point, mimicking the aesthetic seen in the presentation.
- Lightly brush the kiwi slices with a tiny bit of simple syrup to keep them looking glossy and fresh.
- Serve immediately or keep refrigerated until ready to impress your guests!
Pro Tips for Success
Kiwi Panna Cotta
- Temperature Control: Never boil your dairy and gelatin mixture, as high heat weakens the gelling properties of gelatin, resulting in a soft or runny panna cotta.
- Fruit Selection: Choose kiwis that are slightly firm. Overripe kiwis are too soft and mushy, making it difficult to slice cleanly and roll into flower shapes.
- Clean Pours: If any bubbles form on the surface of your liquid panna cotta when pouring into the jars, gently pop them with a toothpick for a glass-smooth surface.
Kiwi Panna Cotta
This easy Kiwi Panna Cotta is as stunning to serve as it is delicious to eat. Give this creamy, refreshing recipe a try and treat your taste buds today!”