
Strawberry Chocolate Layer Cake
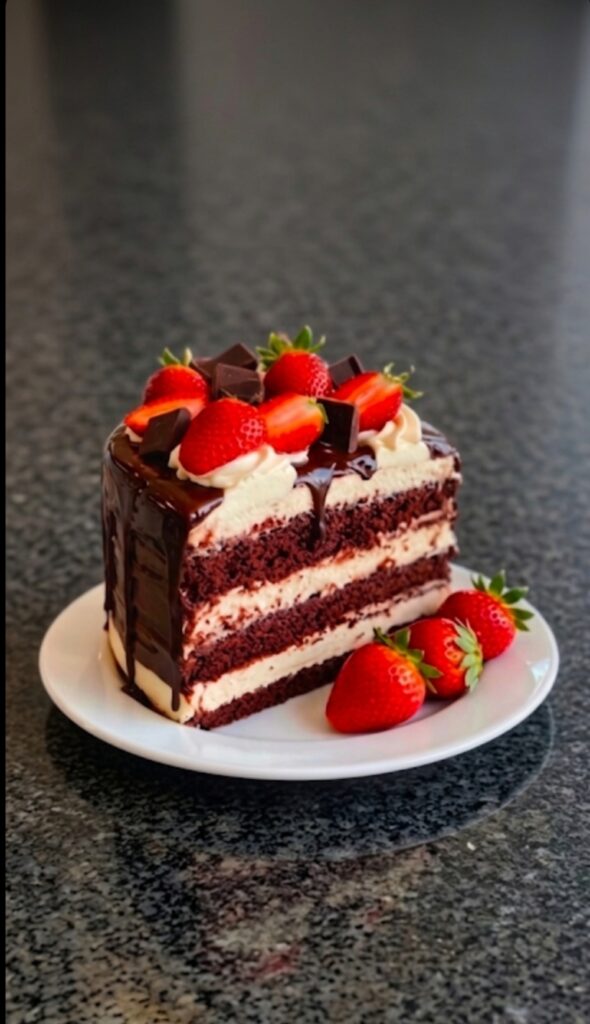
Eggless chocolate strawberry cake
Moist Strawberry Chocolate Layer Cake Recipe | Best HomemadeDessert
Chocolate drip cake tutorial
Indulge in the perfect harmony of rich, decadent chocolate and the refreshing tartness of fresh strawberries. This Strawberry Chocolate Layer Cake is not just a treat for the eyes but a celebration of flavors. Whether it’s a birthday, anniversary, or a weekend treat, this professional-style cake can be easily made in your own kitchen.
Bakery style layer cake at home
In this comprehensive guide, we will walk you through the step-by-step process of baking the softest sponge, preparing the creamy filling, and achieving that perfect chocolate drip.
Moist chocolateHttps://my-dessertkitchen.com/cherry-pistachio-cheesecake-recipe/ cake
Table of Contents
- Ingredients You’ll Need
- Preparation & Baking Time
- How to Bake the Perfect Chocolate Sponge
- Preparing the Strawberry & Cream Filling
- Layering and Decoration Secrets
- Pro-Tips for a Bakery-Style Finish
1. Ingredients
For the Chocolate Sponge:
- All-Purpose Flour (Maida): 2 cups
- Cocoa Powder: 3/4 cup (Use high-quality unsweetened dark cocoa)
- Powdered Sugar: 1.5 cups
- Baking Powder: 1.5 tsp
- Baking Soda: 1 tsp
- Salt: A pinch
- Eggs: 2 large (For eggless: use 1 cup thick yogurt/curd)
- Milk: 1 cup
- Vegetable Oil: 1/2 cup (Unflavored)
- Vanilla Extract: 2 tsp
- Hot Coffee/Water: 1/2 cup (This intensifies the chocolate flavor)
For the Filling & Frosting:
- Whipping Cream: 2 cups (Chilled)
- Fresh Strawberries: 250g (Chopped for layers and whole for topping)
- Chocolate Ganache: 1/2 cup (Dark chocolate melted with cream)
- Sugar Syrup: For moistening the cake layers
2. Preparation Time
- Prep Time: 30 Minutes
- Bake Time: 35-40 Minutes
- Total Time: Approx 1 Hour 15 Minutes
3. How to Bake the Chocolate Sponge
Strawberry Chocolate Layer Cake”
Step 1: Sift Dry Ingredients
In a large mixing bowl, sift together the flour, cocoa powder, baking powder, baking soda, and salt. Sifting is crucial to avoid lumps and ensure an airy texture.
Step 2: Mix Wet Ingredients
In a separate bowl, whisk the sugar, eggs (or yogurt), milk, oil, and vanilla extract until well combined. Gradually pour the wet mixture into the dry ingredients, folding gently to create a smooth batter.
Step 3: The Secret Touch
Add 1/2 cup of hot water or coffee to the batter. The batter will become thin, but don’t worry—this is the secret to an incredibly moist chocolate cake.
Step 4: Baking
Pour the batter into a greased cake tin. Bake in a preheated oven at 180°C (350°F) for 35-40 minutes. Insert a toothpick; if it comes out clean, your cake is ready. Let it cool completely before slicing.
Homemade strawberry https://en.wikipedia.org/wiki/Chocolate cake
4. Preparing the Filling
Once the cake is cool, slice it into three equal horizontal layers. Whip the chilled cream until it forms stiff peaks. Place the first layer of cake on a board, brush it generously with sugar syrup, apply a layer of whipped cream, and spread a handful of chopped strawberries over it.
5. Assembly & Decoration
- The Chocolate Drip: Pour the chocolate ganache on the top edges of the cake, allowing it to drip down naturally for that classic professional look shown in the image.
- Topping: Place fresh, whole strawberries on top of the ganache. Add small chocolate chunks or curls to enhance the texture.
- Finishing: Use a spatula or scraper to give the sides of the cake a smooth or semi-naked finish with the remaining cream.
6. Pro-Tips for Success
- Room Temperature: Ensure your milk and eggs are at room temperature before starting to get a better rise.
- Don’t Skip Syrup: Chocolate cake can dry out easily. Brushing the layers with sugar syrup keeps the cake moist for days.
- Strawberry Selection: Use bright red, sweet strawberries. If they are too sour, they might clash with the sweet cream.
- Setting Time: Always let the decorated cake set in the fridge for at least 2-3 hours before cutting. This helps the layers stay intact.
- Moist Strawberry Chocolate Layer Cake”
Conclusion
This Strawberry Chocolate Layer Cake is the ultimate dessert for any chocolate lover. It’s elegant, delicious, and surprisingly simple to make at home. Give it a try and share your results with us!
Don’t forget to subscribe to our blog for more easy-to-follow dessert recipes.
ಮೃದುವಾದ ಸ್ಟ್ರಾಬೆರಿ ಚಾಕೊಲೇಟ್ ಲೇಯರ್ ಕೇಕ್ ಮಾಡುವ ಸುಲಭ ವಿಧಾನ | Strawberry Chocolate Layer Cake Recipe in Kannada
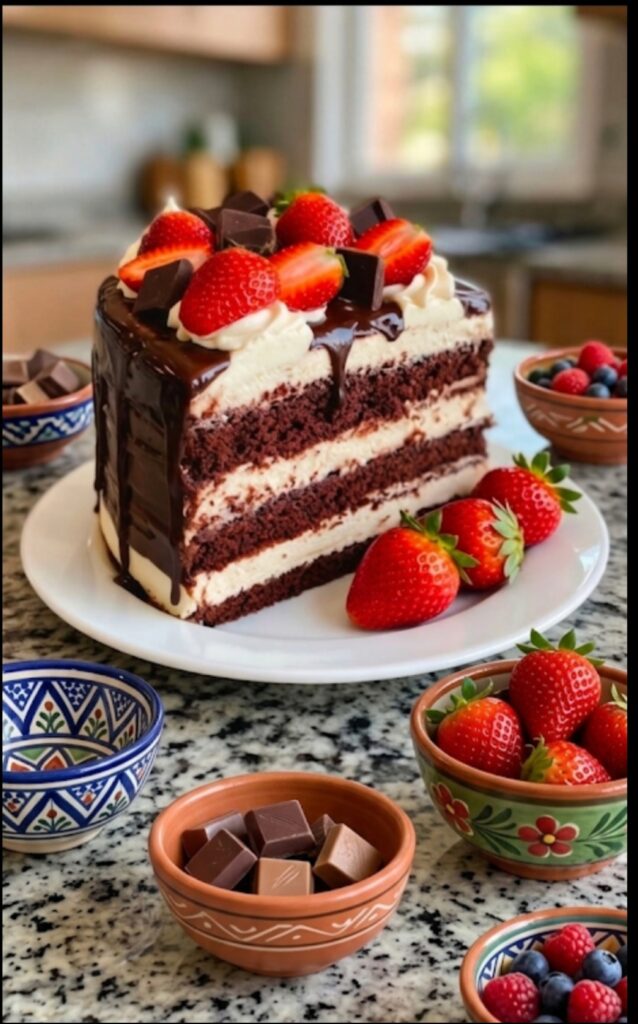
ಮನೆಯಲ್ಲೇ ವಿಶೇಷ ಸಂದರ್ಭಗಳಲ್ಲಿ ಅಥವಾ ಹುಟ್ಟುಹಬ್ಬದ ಸಂಭ್ರಮಕ್ಕೆ ಬೇಕರಿ ಶೈಲಿಯ ಕೇಕ್ ಮಾಡಬೇಕೆಂದು ಬಯಸುವವರಿಗೆ ಈ ಸ್ಟ್ರಾಬೆರಿ ಚಾಕೊಲೇಟ್ ಲೇಯರ್ ಕೇಕ್ ಅತ್ಯುತ್ತಮ ಆಯ್ಕೆ. ಚಾಕೊಲೇಟ್ನ ಕಹಿ-ಸಿಹಿ ರುಚಿ ಮತ್ತು ತಾಜಾ ಸ್ಟ್ರಾಬೆರಿಗಳ ಹುಳಿ-ಸಿಹಿ ಸಂಗಮವು ಈ ಕೇಕ್ ಅನ್ನು ಅದ್ಭುತವಾಗಿಸುತ್ತದೆ.
ಚಾಕೊಲೇಟ್ ಕೇಕ್ ಮಾಡುವ ಸುಲಭ ಹಂತಗಳು
ಈ ಲೇಖನದಲ್ಲಿ ನಾನು ಹಂತ-ಹಂತವಾಗಿ ಈ ಪ್ರೊಫೆಷನಲ್ ಲುಕ್ ಇರುವ ಕೇಕ್ ಅನ್ನು ಹೇಗೆ ತಯಾರಿಸುವುದು ಎಂದು ವಿವರಿಸಿದ್ದೇನೆ.
ಪರಿವಿಡಿ (Table of Contents)
- ಬೇಕಾಗುವ ಪದಾರ್ಥಗಳು (Ingredients)
- ತಯಾರಿಯ ಸಮಯ (Prep Time)
- ಕೇಕ್ ಸ್ಪಾಂಜ್ ತಯಾರಿಸುವ ವಿಧಾನ
- ಕ್ರೀಮ್ ಮತ್ತು ಫಿಲ್ಲಿಂಗ್ ಸಿದ್ಧತೆ
- ಲೇಯರಿಂಗ್ ಮತ್ತು ಡೆಕೋರೇಶನ್ ಟಿಪ್ಸ್
- ಮುನ್ನೆಚ್ಚರಿಕೆಗಳು ಮತ್ತು ಸಲಹೆಗಳು
ಬೇಕಾಗುವ ಪದಾರ್ಥಗಳು (Ingredients)
ಚಾಕೊಲೇಟ್ ಕೇಕ್ ಬೇಸ್ ಮಾಡಲು:
- ಮೈದಾ ಹಿಟ್ಟು – ೨ ಕಪ್
- ಕೋಕೋ ಪೌಡರ್ – ೩/೪ ಕಪ್ (ಉತ್ತಮ ಗುಣಮಟ್ಟದ ಡಾರ್ಕ್ ಕೋಕೋ ಬಳಸಿ)
- ಸಕ್ಕರೆ ಪುಡಿ – ೧.೫ ಕಪ್
- ಬೇಕಿಂಗ್ ಪೌಡರ್ – ೧.೫ ಟೀಸ್ಪೂನ್
- ಬೇಕಿಂಗ್ ಸೋಡಾ – ೧ ಟೀಸ್ಪೂನ್
- ಉಪ್ಪು – ಒಂದು ಚಿಟಿಕೆ
- ಮೊಟ್ಟೆ – ೨ (ಎಗ್ಲೆಸ್ ಬೇಕಿದ್ದರೆ ೧ ಕಪ್ ಗಟ್ಟಿ ಮೊಸರು ಬಳಸಿ)
- ಹಾಲು – ೧ ಕಪ್
- ಎಣ್ಣೆ (ವಾಸನೆ ಇಲ್ಲದ) – ೧/೨ ಕಪ್
- ವೆನಿಲ್ಲಾ ಎಸೆನ್ಸ್ – ೨ ಟೀಸ್ಪೂನ್
- ಬಿಸಿ ನೀರು ಅಥವಾ ಕಾಫಿ ನೀರು – ೧/೨ ಕಪ್ (ಇದು ಚಾಕೊಲೇಟ್ ರುಚಿಯನ್ನು ಹೆಚ್ಚಿಸುತ್ತದೆ)
- ಸ್ಟ್ರಾಬೆರಿ ಕೇಕ್ ಅಲಂಕಾರ
ಫಿಲ್ಲಿಂಗ್ ಮತ್ತು ಐಸಿಂಗ್ಗಾಗಿ:
- ವಿಪ್ಪಿಂಗ್ ಕ್ರೀಮ್ – ೨ ಕಪ್
- ತಾಜಾ ಸ್ಟ್ರಾಬೆರಿಗಳು – ೨೫೦ ಗ್ರಾಂ (ಸಣ್ಣಗೆ ಹೆಚ್ಚಿದ್ದು)
- ಚಾಕೊಲೇಟ್ ಗನಾಶ್ – ೧/೨ ಕಪ್ (ಡಾರ್ಕ್ ಚಾಕೊಲೇಟ್ ಮತ್ತು ಕ್ರೀಮ್ ಮಿಶ್ರಣ)
- ಸಕ್ಕರೆ ನೀರು (Sugar Syrup) – ಕೇಕ್ ತೇವಗೊಳಿಸಲು
೨. ತಯಾರಿಯ ಸಮಯ (Time)
- ಸಿದ್ಧತಾ ಸಮಯ: ೩೦ ನಿಮಿಷಗಳು
- ಬೇಯಿಸುವ ಸಮಯ: ೩೫-೪೦ ನಿಮಿಷಗಳು
- ಒಟ್ಟು ಸಮಯ: ಸುಮಾರು ೧ ಗಂಟೆ ೧೫ ನಿಮಿಷಗಳು
೩. ಕೇಕ್ ಸ್ಪಾಂಜ್ ತಯಾರಿಸುವ ವಿಧಾನ (Step-by-Step)
ಹಂತ ೧: ಒಣ ಪದಾರ್ಥಗಳ ಮಿಶ್ರಣ
ಮೊದಲು ಒಂದು ದೊಡ್ಡ ಪಾತ್ರೆಯಲ್ಲಿ ಮೈದಾ, ಕೋಕೋ ಪೌಡರ್, ಬೇಕಿಂಗ್ ಪೌಡರ್, ಬೇಕಿಂಗ್ ಸೋಡಾ ಮತ್ತು ಉಪ್ಪನ್ನು ಜರಡಿ ಹಿಡಿದುಕೊಳ್ಳಿ. ಹೀಗೆ ಮಾಡುವುದರಿಂದ ಕೇಕ್ನಲ್ಲಿ ಗಂಟಿಲ್ಲದೆ ಮೃದುವಾಗಿ ಬರುತ್ತದೆ.
ಹಂತ ೨: ದ್ರವ ಪದಾರ್ಥಗಳ ಸೇರ್ಪಡೆ
ಇನ್ನೊಂದು ಪಾತ್ರೆಯಲ್ಲಿ ಸಕ್ಕರೆ, ಮೊಟ್ಟೆ (ಅಥವಾ ಮೊಸರು), ಹಾಲು, ಎಣ್ಣೆ ಮತ್ತು ವೆನಿಲ್ಲಾ ಎಸೆನ್ಸ್ ಸೇರಿಸಿ ಚೆನ್ನಾಗಿ ವಿಸ್ಕ್ ಮಾಡಿ. ಈಗ ತಯಾರಾದ ದ್ರವ ಮಿಶ್ರಣವನ್ನು ಒಣ ಪದಾರ್ಥಗಳ ಪಾತ್ರೆಗೆ ಸ್ವಲ್ಪ ಸ್ವಲ್ಪವೇ ಸುರಿಯುತ್ತಾ ನಿಧಾನವಾಗಿ ಕಲಸಿ.
ಹಂತ ೩: ಮ್ಯಾಜಿಕ್ ಇಂಗ್ರಿಡಿಯಂಟ್
ಕೊನೆಯಲ್ಲಿ ಅರ್ಧ ಕಪ್ ಬಿಸಿ ನೀರು ಅಥವಾ ಡಿಕ್ವಾಶನ್ ಸೇರಿಸಿ ಮಿಶ್ರಣ ಮಾಡಿ. ಇದು ಬ್ಯಾಟರ್ ಅನ್ನು ತೆಳ್ಳಗೆ ಮಾಡುತ್ತದೆ ಮತ್ತು ಕೇಕ್ ಅತಿ ಹೆಚ್ಚು ಸಾಫ್ಟ್ ಆಗಲು ಸಹಾಯ ಮಾಡುತ್ತದೆ.
ಹಂತ ೪: ಬೇಕಿಂಗ್
ಕೇಕ್ ಟಿನ್ಗೆ ಬೆಣ್ಣೆ ಸವರಿ, ಬ್ಯಾಟರ್ ಸುರಿಯಿರಿ. ೧೮೦ ಡಿಗ್ರಿ ಸೆಲ್ಸಿಯಸ್ನಲ್ಲಿ ಪ್ರೀ-ಹೀಟ್ ಮಾಡಿದ ಓವನ್ನಲ್ಲಿ ೩೫-೪೦ ನಿಮಿಷ ಬೇಯಿಸಿ. (ಓವನ್ ಇಲ್ಲದಿದ್ದರೆ ದಪ್ಪ ತಳದ ಪಾತ್ರೆಯಲ್ಲಿ ಉಪ್ಪು ಹಾಕಿ ೪೫ ನಿಮಿಷ ಬೇಯಿಸಬಹುದು).
೪. ಕ್ರೀಮ್ ಮತ್ತು ಸ್ಟ್ರಾಬೆರಿ ಫಿಲ್ಲಿಂಗ್
ಕೇಕ್ ಸಂಪೂರ್ಣವಾಗಿ ತಣ್ಣಗಾದ ನಂತರ ಅದನ್ನು ಮೂರು ಸಮಾನ ಲೇಯರ್ಗಳಾಗಿ ಕತ್ತರಿಸಿ. ವಿಪ್ಪಿಂಗ್ ಕ್ರೀಮ್ ಅನ್ನು ಗಟ್ಟಿಯಾಗುವವರೆಗೆ (Stiff Peaks) ಬೀಟ್ ಮಾಡಿ. ಒಂದು ಲೇಯರ್ ಕೇಕ್ ಇಟ್ಟು ಅದರ ಮೇಲೆ ಸಕ್ಕರೆ ನೀರನ್ನು ಸವರಿ. ನಂತರ ಒಂದು ಲೇಯರ್ ಕ್ರೀಮ್ ಹಚ್ಚಿ, ಅದರ ಮೇಲೆ ಸಣ್ಣಗೆ ಹೆಚ್ಚಿದ ತಾಜಾ ಸ್ಟ್ರಾಬೆರಿಗಳನ್ನು ಹರಡಿ.
ಇದೇ ರೀತಿ ಮೂರು ಲೇಯರ್ಗಳನ್ನು ಒಂದರ ಮೇಲೊಂದು ಜೋಡಿಸಿ.
೫. ಲೇಯರಿಂಗ್ ಮತ್ತು ಫಿನಿಶಿಂಗ್ (Decoration)
ಫೋಟೋದಲ್ಲಿ ಕಂಡಂತೆ ಕೇಕ್ ಅಂದವಾಗಿ ಕಾಣಲು:
- ಚಾಕೊಲೇಟ್ ಡ್ರಿಪ್: ಕೇಕ್ನ ಮೇಲ್ಭಾಗದಲ್ಲಿ ಚಾಕೊಲೇಟ್ ಗನಾಶ್ ಅನ್ನು ನಿಧಾನವಾಗಿ ಸುರಿಯಿರಿ, ಅದು ಅಂಚುಗಳಿಂದ ಕೆಳಗೆ ಇಳಿಯುವಂತೆ (Drip) ಮಾಡಿ.
- ಫ್ರೆಶ್ ಫ್ರೂಟ್ಸ್: ಮೇಲ್ಭಾಗದಲ್ಲಿ ಪೂರ್ತಿ ಸ್ಟ್ರಾಬೆರಿಗಳನ್ನು ಮತ್ತು ಕೆಲವು ಚಾಕೊಲೇಟ್ ತುಂಡುಗಳನ್ನು ಅಂದವಾಗಿ ಜೋಡಿಸಿ.
- ಸೈಡ್ ಡೆಕೋರೇಶನ್: ಬದಿಗಳಲ್ಲಿ ಸ್ವಲ್ಪ ಕ್ರೀಮ್ ಅನ್ನು ಸ್ಕ್ರೇಪರ್ ಬಳಸಿ ಫಿನಿಶಿಂಗ್ ನೀಡಿ.
ರುಚಿಯಾದ ಕೇಕ್ ಮಾಡಲು ವಿಶೇಷ ಟಿಪ್ಸ್ (Pro-Tips)
- ಕೋಠಿ ತಾಪಮಾನ (Room Temp): ಹಾಲು ಮತ್ತು ಮೊಟ್ಟೆಗಳು ಫ್ರಿಡ್ಜ್ನಿಂದ ನೇರವಾಗಿ ತೆಗೆದು ಬಳಸಬೇಡಿ, ಅವು ರೂಮ್ ಟೆಂಪರೇಚರ್ನಲ್ಲಿ ಇರಲಿ.
- ಸಕ್ಕರೆ ಪಾಕ: ಕೇಕ್ ಲೇಯರ್ಗಳಿಗೆ ಸಕ್ಕರೆ ನೀರು ಹಾಕುವುದನ್ನು ಮರೆಯಬೇಡಿ, ಇಲ್ಲದಿದ್ದರೆ ಕೇಕ್ ಒಣಗಿದಂತೆ (Dry) ಅನಿಸಬಹುದು.
- ಸ್ಟ್ರಾಬೆರಿ ಆಯ್ಕೆ: ಆದಷ್ಟು ಕೆಂಪು ಮತ್ತು ಸಿಹಿಯಾದ ಸ್ಟ್ರಾಬೆರಿಗಳನ್ನು ಆರಿಸಿ. ಅತಿ ಹುಳಿಯಾಗಿದ್ದರೆ ಕ್ರೀಮ್ ರುಚಿ ಕೆಡಬಹುದು.
- ಸೆಟ್ ಮಾಡುವುದು: ಕೇಕ್ ಪೂರ್ತಿ ಸಿದ್ಧವಾದ ನಂತರ ಕನಿಷ್ಠ ೨-೩ ಗಂಟೆ ಫ್ರಿಡ್ಜ್ನಲ್ಲಿ ಇರಿಸಿ. ಇದರಿಂದ ಲೇಯರ್ಗಳು ಚೆನ್ನಾಗಿ ಸೆಟ್ ಆಗುತ್ತವೆ
- ರುಚಿಯಾದ ಕೇಕ್ ಮಾಡಲು ವಿಶೇಷ ಟಿಪ್ಸ್ (Pro-Tips)
- ಕೋಠಿ ತಾಪಮಾನ (Room Temp): ಹಾಲು ಮತ್ತು ಮೊಟ್ಟೆಗಳು ಫ್ರಿಡ್ಜ್ನಿಂದ ನೇರವಾಗಿ ತೆಗೆದು ಬಳಸಬೇಡಿ, ಅವು ರೂಮ್ ಟೆಂಪರೇಚರ್ನಲ್ಲಿ ಇರಲಿ.
- ಸಕ್ಕರೆ ಪಾಕ: ಕೇಕ್ ಲೇಯರ್ಗಳಿಗೆ ಸಕ್ಕರೆ ನೀರು ಹಾಕುವುದನ್ನು ಮರೆಯಬೇಡಿ, ಇಲ್ಲದಿದ್ದರೆ ಕೇಕ್ ಒಣಗಿದಂತೆ (Dry) ಅನಿಸಬಹುದು.
- ಸ್ಟ್ರಾಬೆರಿ ಆಯ್ಕೆ: ಆದಷ್ಟು ಕೆಂಪು ಮತ್ತು ಸಿಹಿಯಾದ ಸ್ಟ್ರಾಬೆರಿಗಳನ್ನು ಆರಿಸಿ. ಅತಿ ಹುಳಿಯಾಗಿದ್ದರೆ ಕ್ರೀಮ್ ರುಚಿ ಕೆಡಬಹುದು.
- ಸೆಟ್ ಮಾಡುವುದು: ಕೇಕ್ ಪೂರ್ತಿ ಸಿದ್ಧವಾದ ನಂತರ ಕನಿಷ್ಠ ೨-೩ ಗಂಟೆ ಫ್ರಿಡ್ಜ್ನಲ್ಲಿ ಇರಿಸಿ. ಇದರಿಂದ ಲೇಯರ್ಗಳು ಚೆನ್ನಾಗಿ ಸೆಟ್ ಆಗುತ್ತವೆ.
- ಮುಕ್ತಾಯ (Conclusion)
- ಈ ಸ್ಟ್ರಾಬೆರಿ ಚಾಕೊಲೇಟ್ ಲೇಯರ್ ಕೇಕ್ ನೋಡಲು ಎಷ್ಟು ಸುಂದರವೋ, ತಿನ್ನಲು ಅಷ್ಟೇ ರುಚಿಯಾಗಿರುತ್ತದೆ. ನೀವು ಮನೆಯಲ್ಲಿ ಇದನ್ನು ಪ್ರಯತ್ನಿಸಿದರೆ ಫೋಟೋ ಹಂಚಿಕೊಳ್ಳಿ!
- ನಿಮಗೆ ಈ ರೆಸಿಪಿ ಇಷ್ಟವಾದರೆ ನಿಮ್ಮ ಸ್ನೇಹಿತರೊಂದಿಗೆ ಶೇರ್ ಮಾಡಿ ಮತ್ತು ನಮ್ಮ ಬ್ಲಾಗ್ನಲ್ಲಿ ಇಂತಹ ಇನ್ನಷ್ಟು ಸಿಹಿ ರೆಸಿಪಿಗಳಿಗಾಗಿ ಸಬ್ಸ್ಕ್ರೈಬ್ ಆಗಿ.
ಮುಕ್ತಾಯ (Conclusion)
ಈ ಸ್ಟ್ರಾಬೆರಿ ಚಾಕೊಲೇಟ್ ಲೇಯರ್ ಕೇಕ್ ನೋಡಲು ಎಷ್ಟು ಸುಂದರವೋ, ತಿನ್ನಲು ಅಷ್ಟೇ ರುಚಿಯಾಗಿರುತ್ತದೆ. ನೀವು ಮನೆಯಲ್ಲಿ ಇದನ್ನು ಪ್ರಯತ್ನಿಸಿದರೆ ಫೋಟೋ ಹಂಚಿಕೊಳ್ಳಿ!
ನಿಮಗೆ ಈ ರೆಸಿಪಿ ಇಷ್ಟವಾದರೆ ನಿಮ್ಮ ಸ್ನೇಹಿತರೊಂದಿಗೆ ಶೇರ್ ಮಾಡಿ ಮತ್ತು ನಮ್ಮ ಬ್ಲಾಗ್ನಲ್ಲಿ ಇಂತಹ ಇನ್ನಷ್ಟು ಸಿಹಿ ರೆಸಿಪಿಗಳಿಗಾಗಿ ಸಬ್ಸ್ಕ್ರೈಬ್ ಆಗಿ.
- ”I hope you enjoy making this Moist Strawberry Chocolate Layer Cake Recipe. This Strawberry Chocolate Layer Cake is perfect for birthdays. Try this Strawberry Chocolate Layer Cake today!”
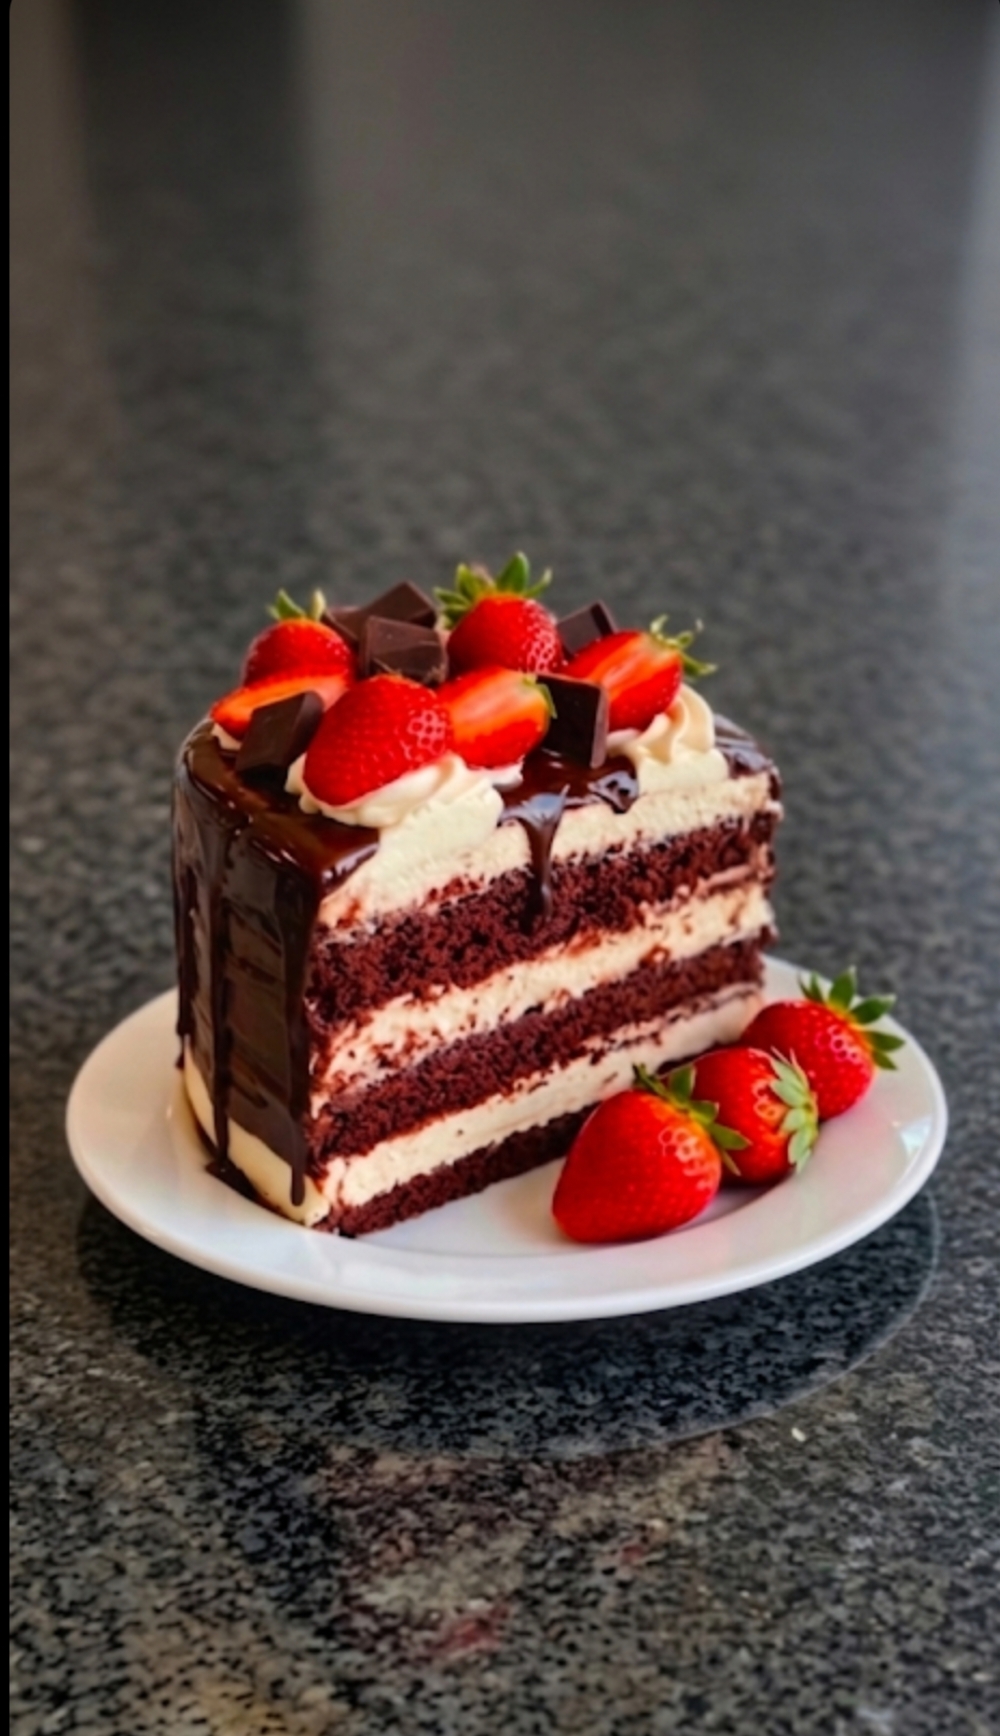
Moist Strawberry Chocolate Layer Cake
Method
- Mix all dry ingredients (flour, cocoa, sugar) in a bowl.
- Add milk, oil, and eggs; whisk until smooth.
- Bake at 180°C for 35-40 minutes
- Layer the cake with whipped cream and fresh strawberries.